Mastering Studio Lighting: Part 1-Lighting Concepts
Begin your journey by understanding the fundamentals of lighting, including the types of lights and their uses.
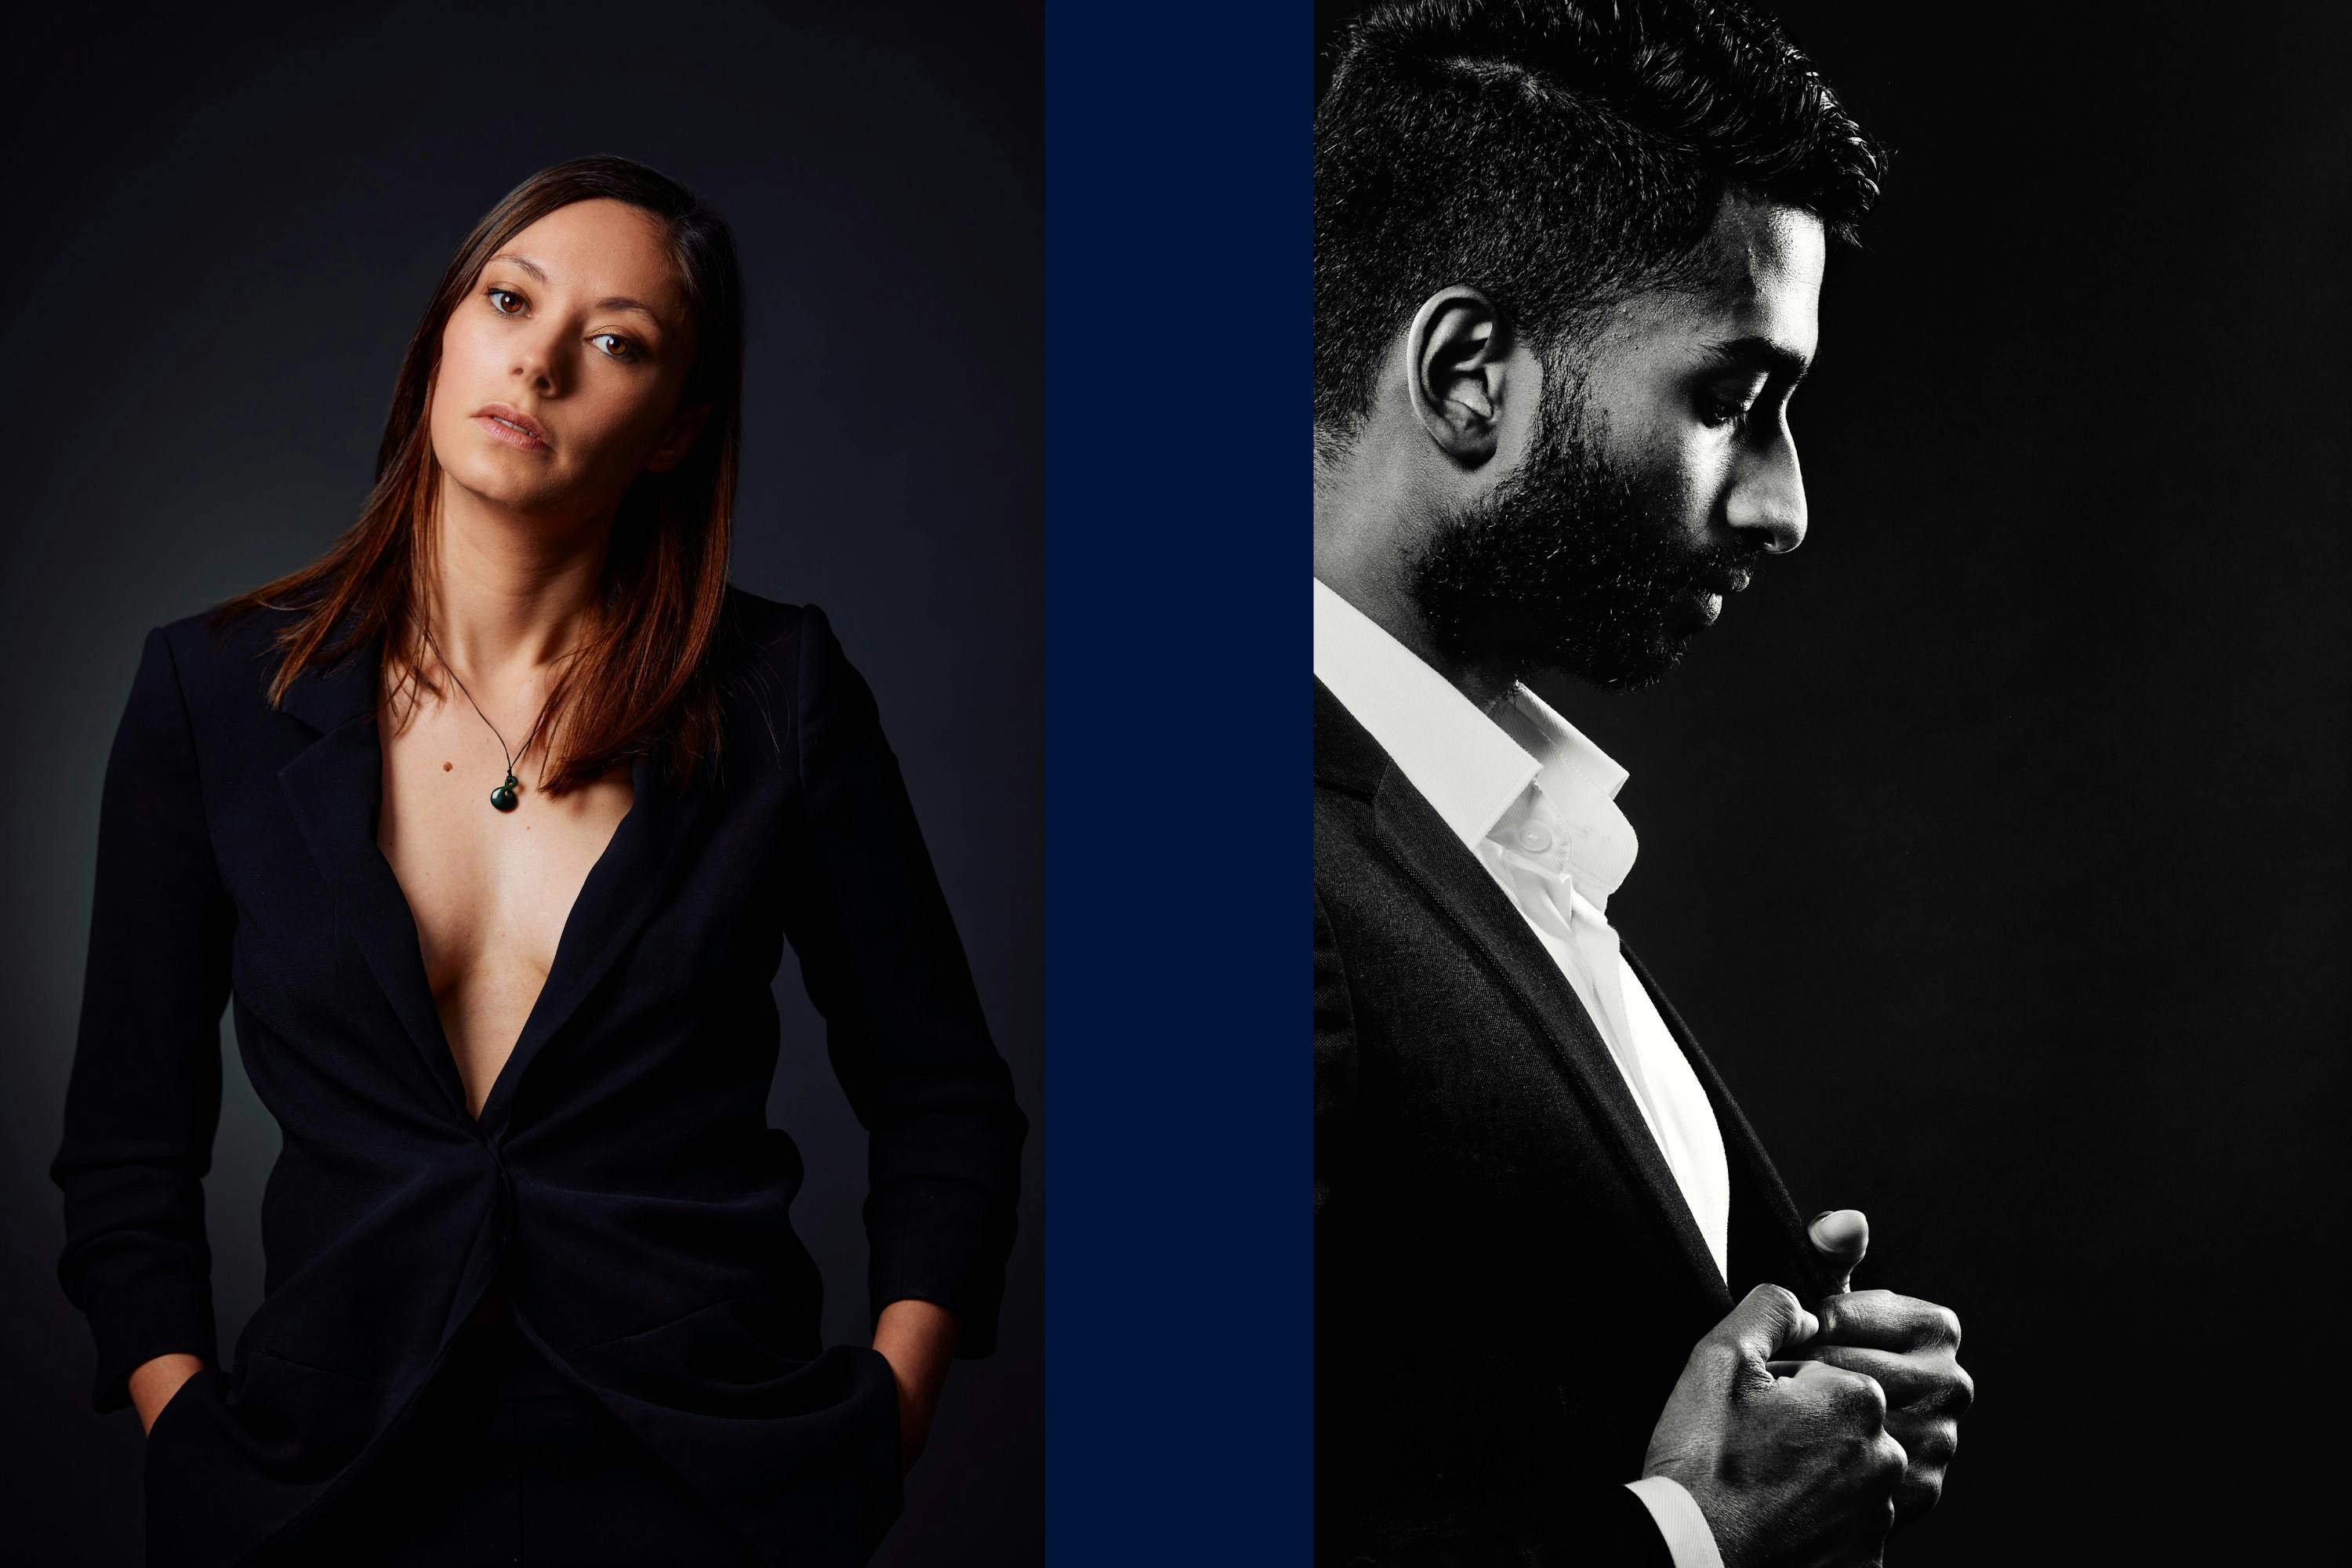
Light & Mood
In portrait, fashion, beauty, and lifestyle photography, three things are fundamental: light, style, and poses. Among these, light is the most important. If used well, light can make your photos stunning.
Light helps create the right mood in a photo, making people stop and look. It can help you stand out in the industry. If you can capture attention with your use of light, you’re ahead of the game. A unique portfolio can attract more bookings. Clients want something memorable when they’re browsing through portfolios.
Soft light and hard light – what's the difference?
Soft light gives a gentle and flattering effect. This type of lighting is often associated with terms such as: romantic, ethereal, painterly, heavenly, airy, gentle, optimistic, subdued, subtle, light, faint, glow, and illumination.
On the other hand, hard light creates strong contrasts and bold shadows. It can be very dramatic and eye-catching. Hard light could be described as dramatic, harsh, statement, high-contrast, confident, strong, vibrant, punchy, loud, powerful, intense, dark, bold, shadow, and warm.
If you take portraits or wedding photos, light also adds emotion to your images. It helps you tell a story. Your use of light is part of your style and can make clients choose you.
Good photographers understand how to use light to create mood. Always have a lighting plan before you start a shoot. Think about the mood you want to convey, and let that guide your lighting decisions. Are you going for a bright and cheerful feel, or something more bold? Write down keywords that describe the mood you’re aiming for.
On some shoots, like portraits or actors, you just have to make the subject look good. If a client wants a timeless, romantic portrait, I’d choose soft lighting, as it’s flattering and suits the theme.
If I was doing an ad for a skin product, I’d need to highlight the product and make the model look attractive. In this case, I might choose a semi-soft light that wraps around the subject and gives a glow to the skin.
Remember, every shoot is different, so approach each one with a fresh perspective. Talk to your client and your team, and test your lighting. Each client deserves a lighting plan that suits their needs.
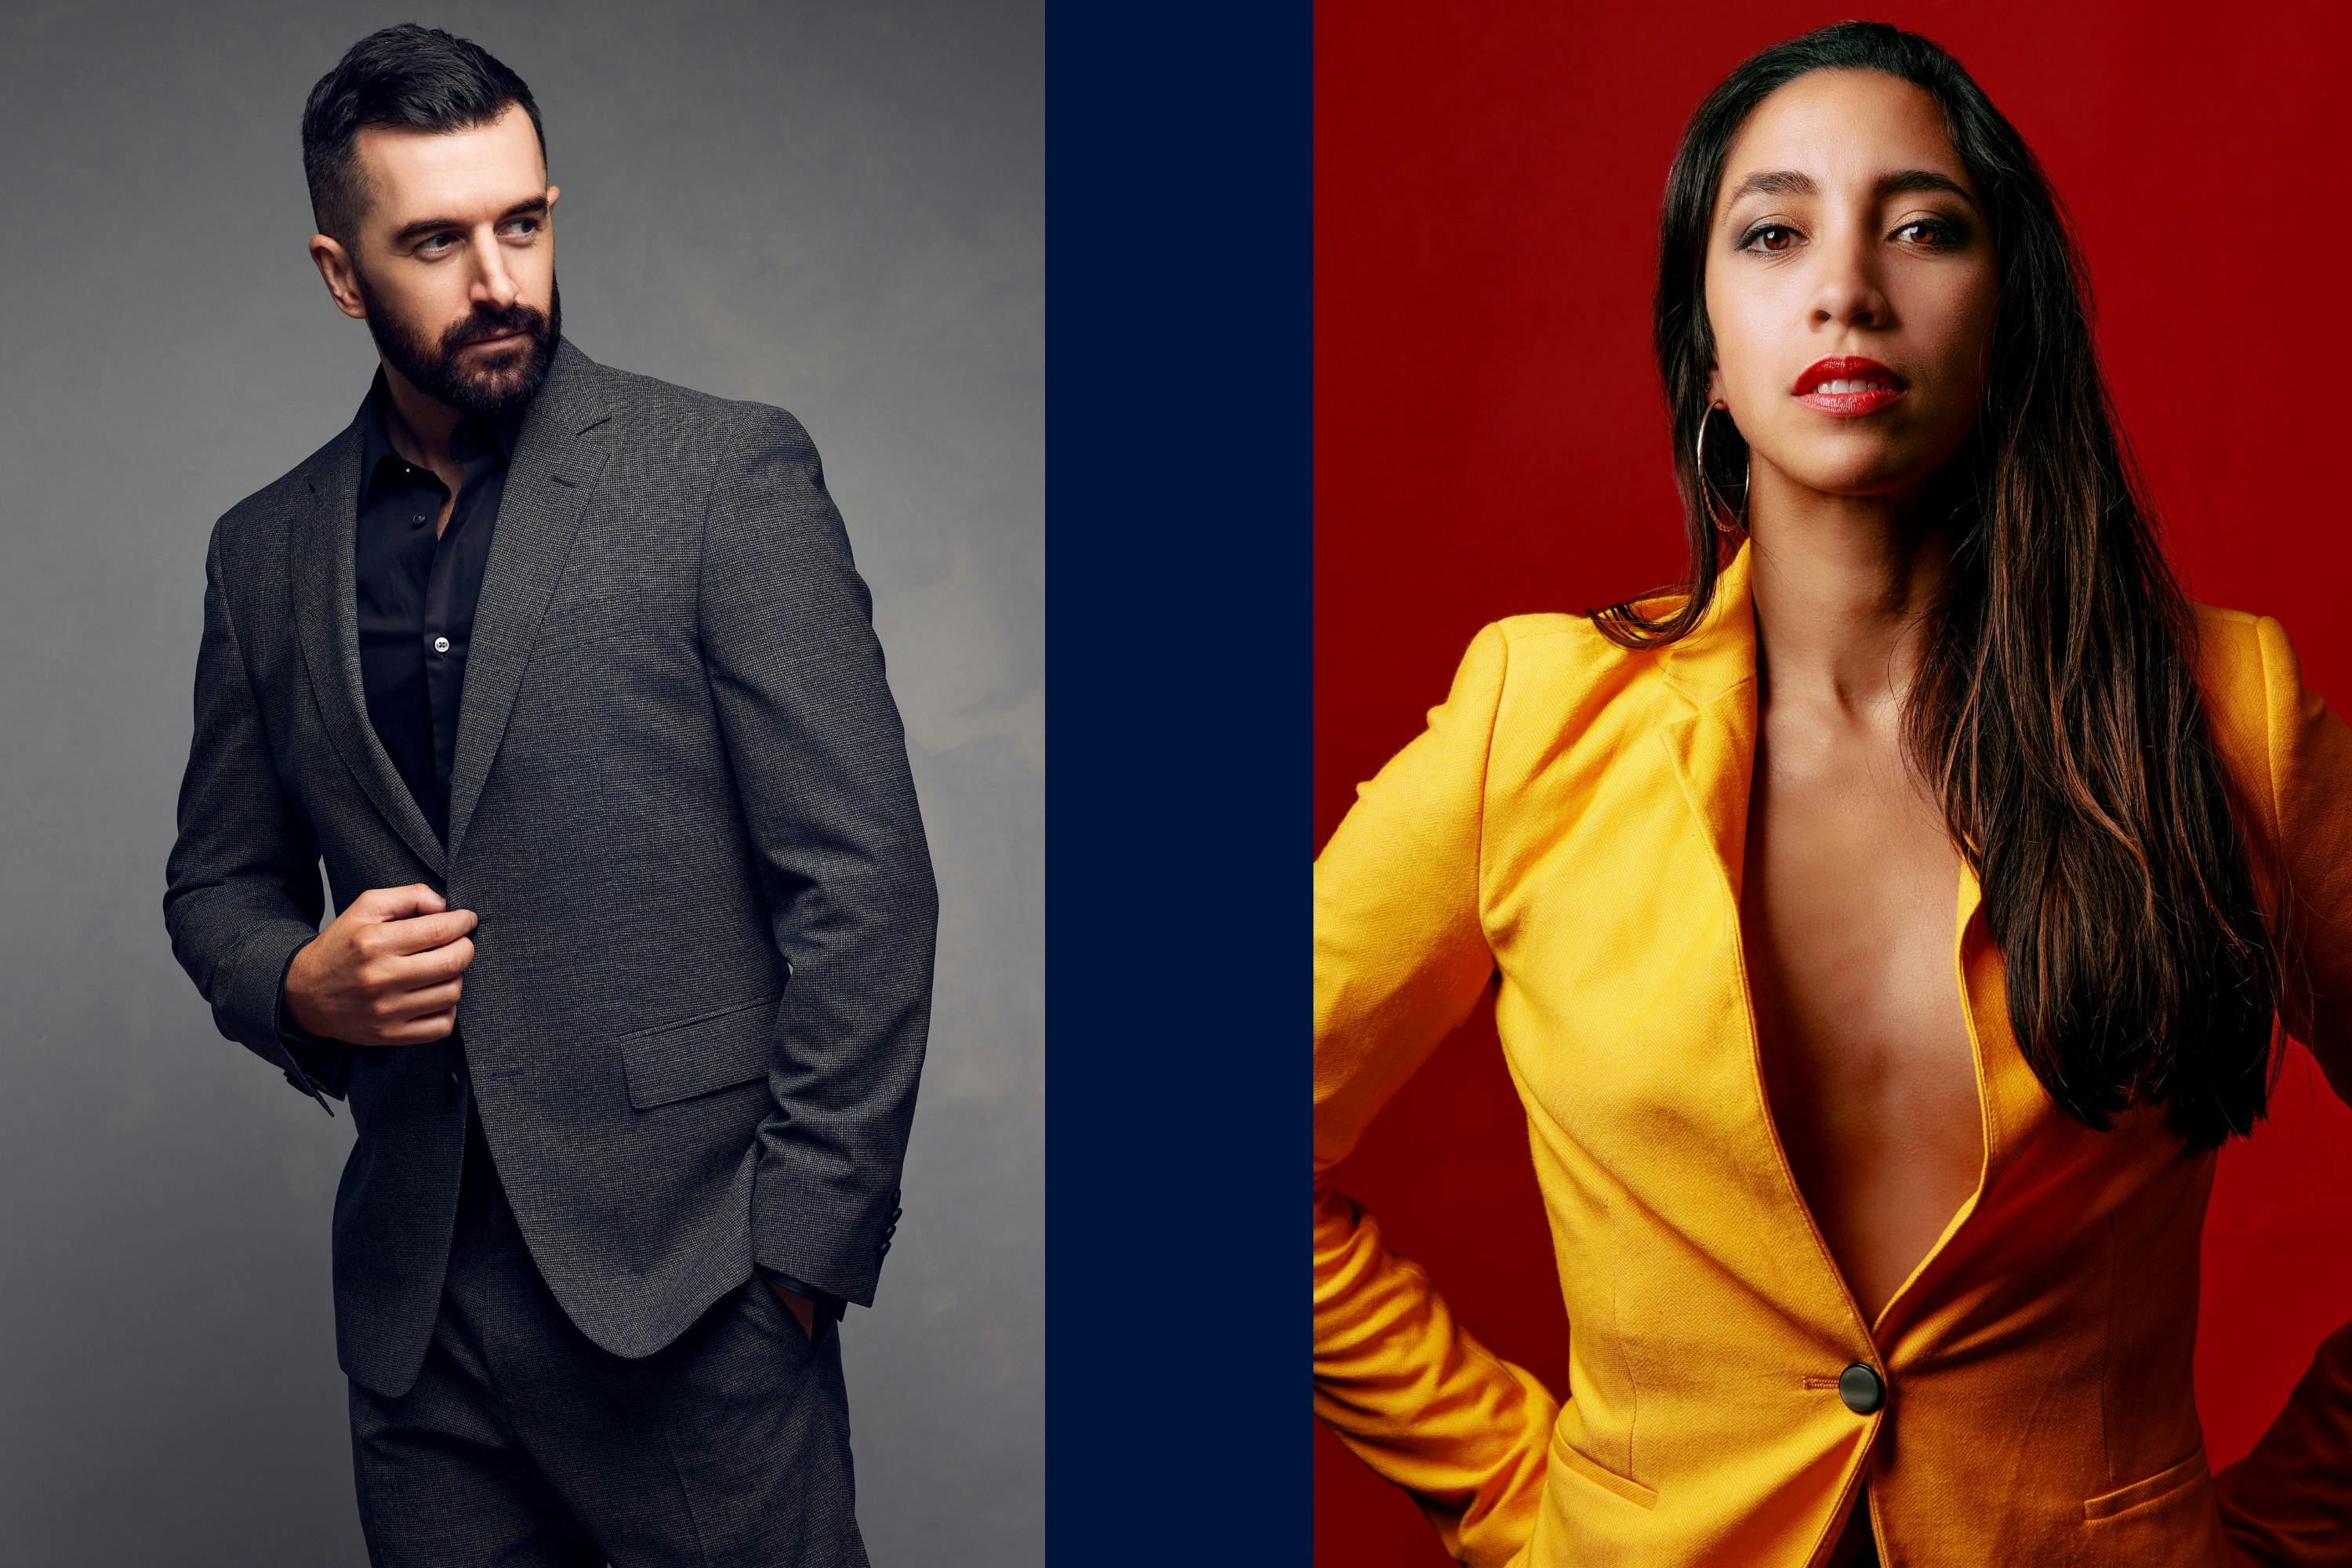
When planning lighting for any photoshoot, I think about the following questions:
- How will the light enhance the subject’s features?
- What am I trying to sell?
- What will the styling be like?
- What is the theme or idea?
- How will the light improve the final product and create the desired?
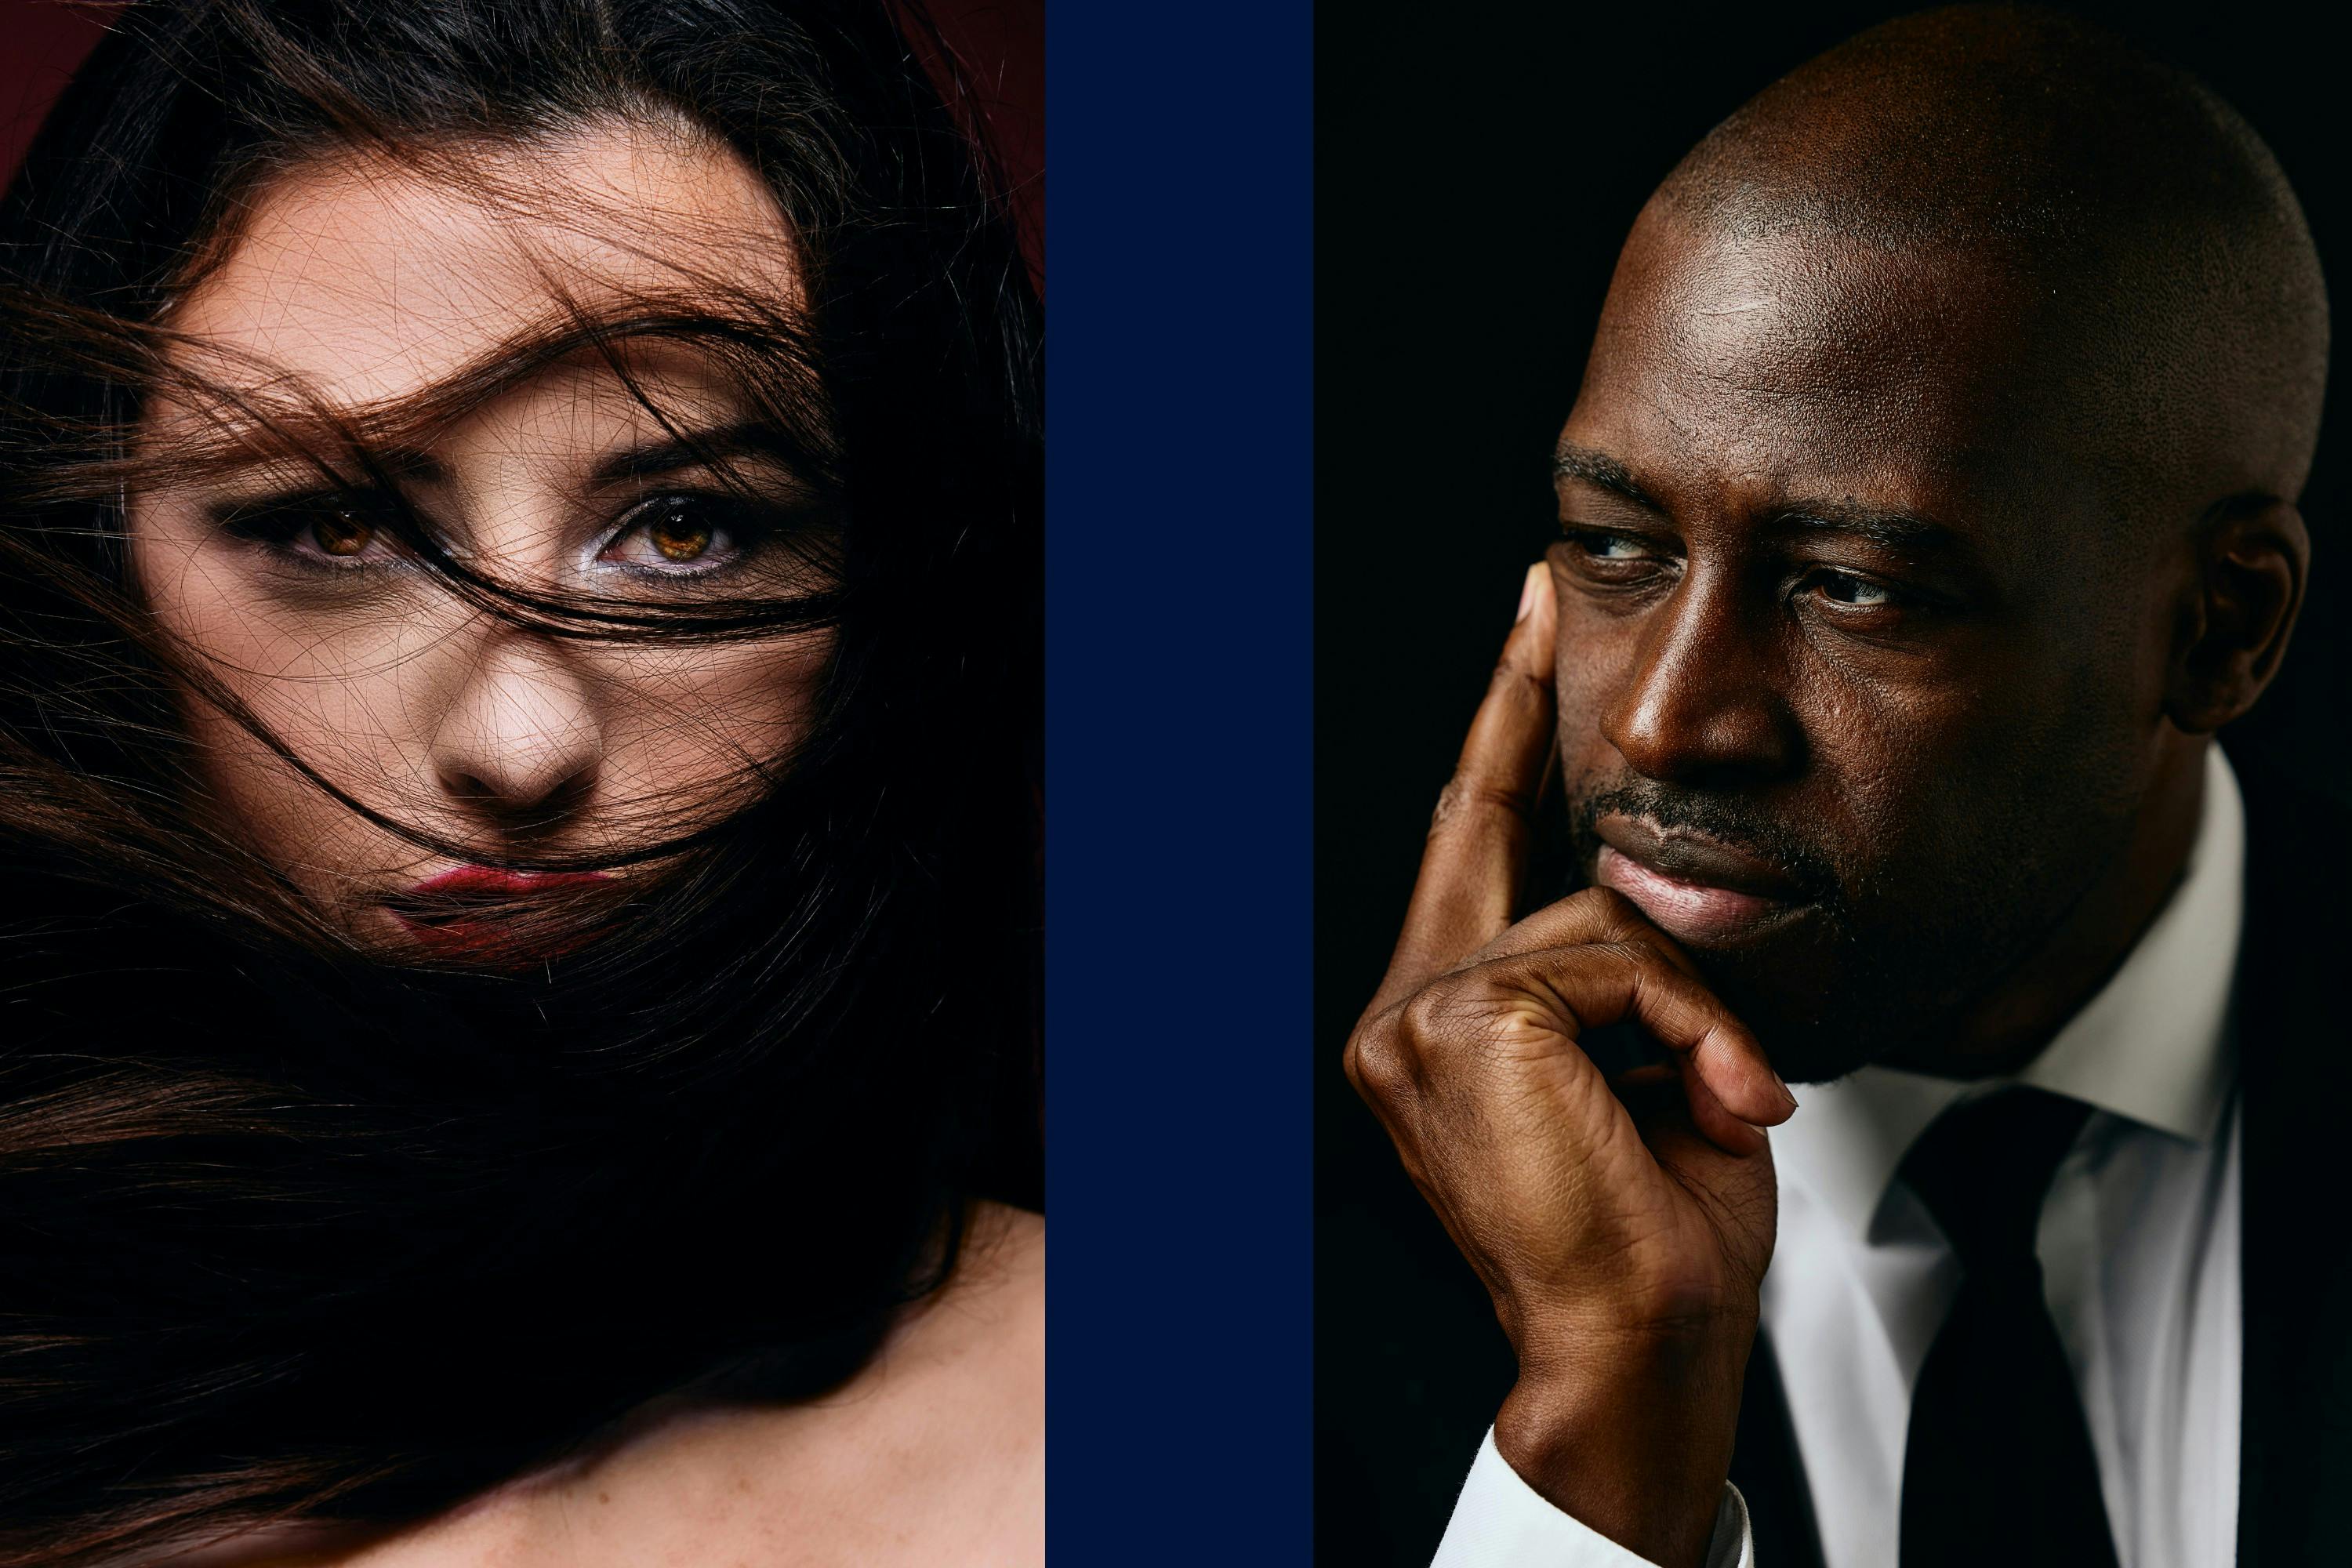
Understanding the interplay of light is vital.
Here are some fundamental principles to follow when devising your lighting setup:
- Larger light sources produce softer light.
- Conversely, smaller light sources give harder light.
- Light sources positioned closer to the subject result in softer light.
- The farther the light source, the harder the light.
To achieve soft light, keep in mind three main factors: the size of your light modifier, the level of diffusion, and the distance of the light source from your subject.
Broad light sources, such as a 200 cm Umbrella with diffusion or a 150 cm Octabox, provide more illumination as the light rays come from a larger area. Moving these large light sources closer to your subject also broadens the light.
For super soft light, your light needs to be large, well-diffused, and close to your subject.
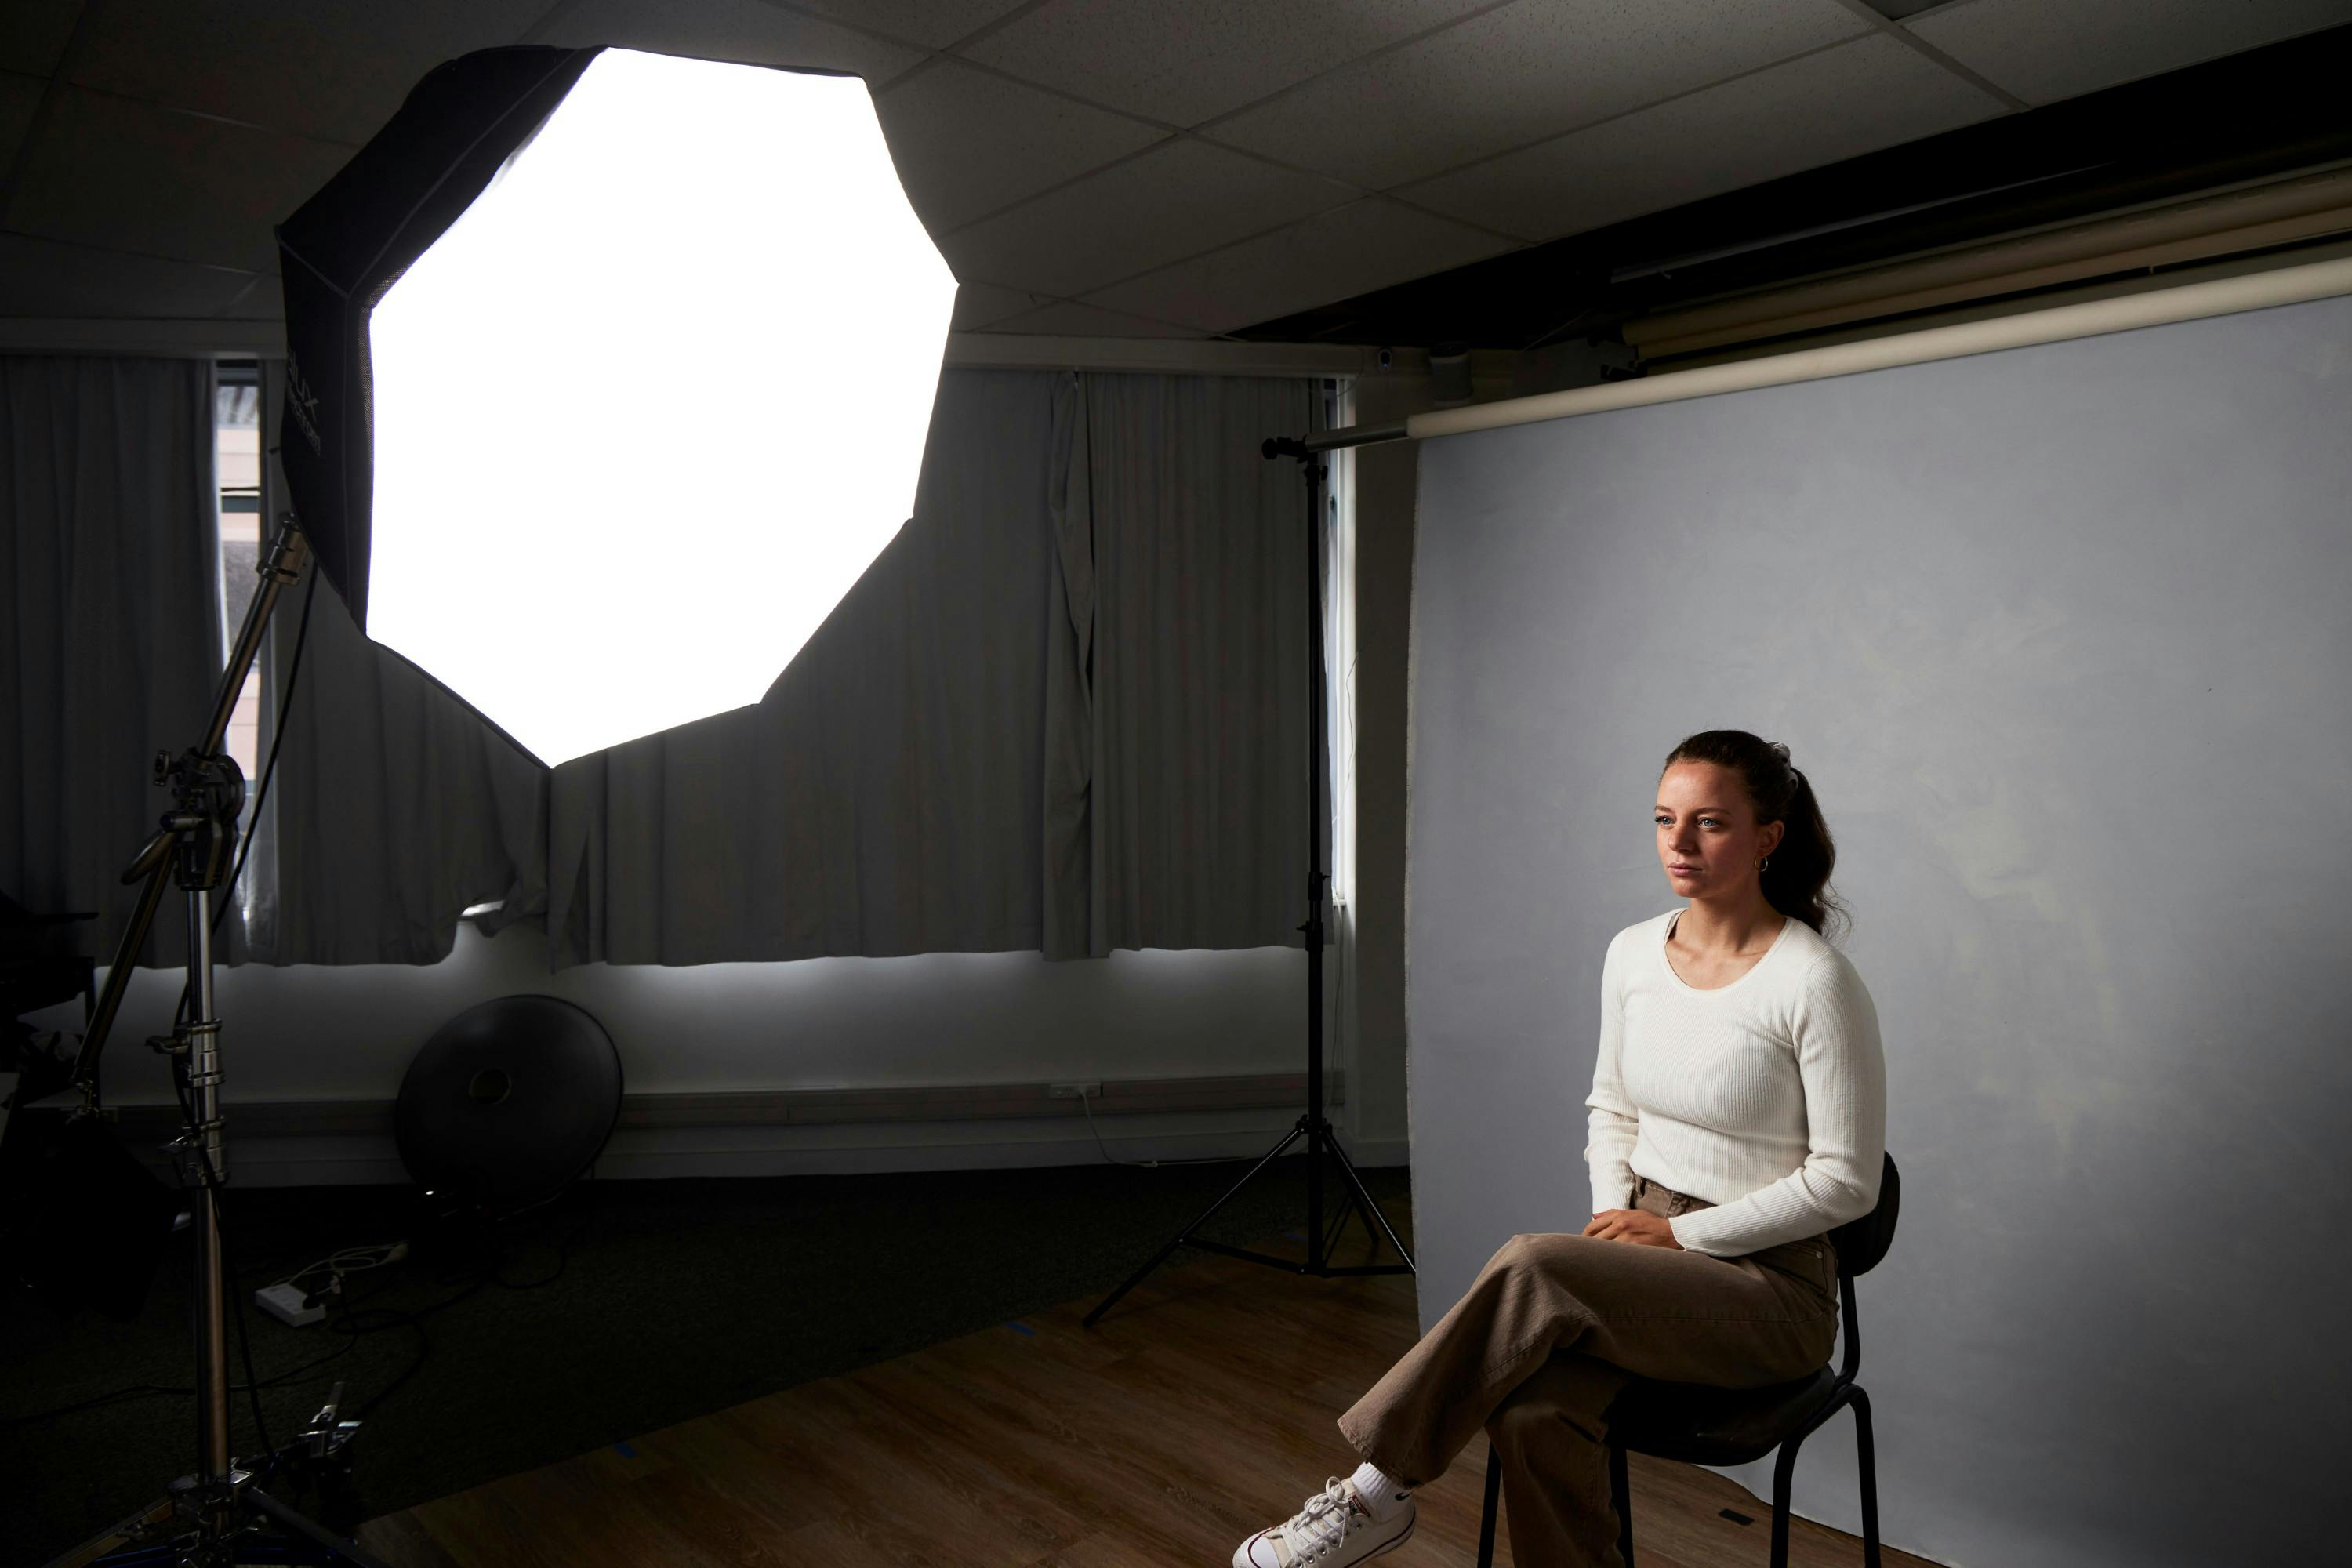
Keep in mind that a 200 cm white diffused umbrella positioned near your subject will generate softer light than a 150 cm Octabox at the same distance, due to its larger size. Likewise, a 150 cm Octabox will deliver softer light than a 70 cm Octabox at the same distance, simply because it has a larger light source.
Bouncing a strobe or umbrella off a white wall behind you (about two metres from the subject) creates a larger source of light, making it softer than a 150 cm Octabox a few feet away.
To produce hard light, use a smaller or narrower light source. The further your light is from your subject, the more distinct and harder the shadows will be. Moving your light closer, however, will soften these shadows.
Once you understand how the size and placement of your light source affect your images, you’ll gain more control over your setups. Testing the light at different distances will give you a clearer understanding of what accessories to use. Experiment with your light's settings to make sure that you're always adjusting for other changes you've made throughout the shoot.
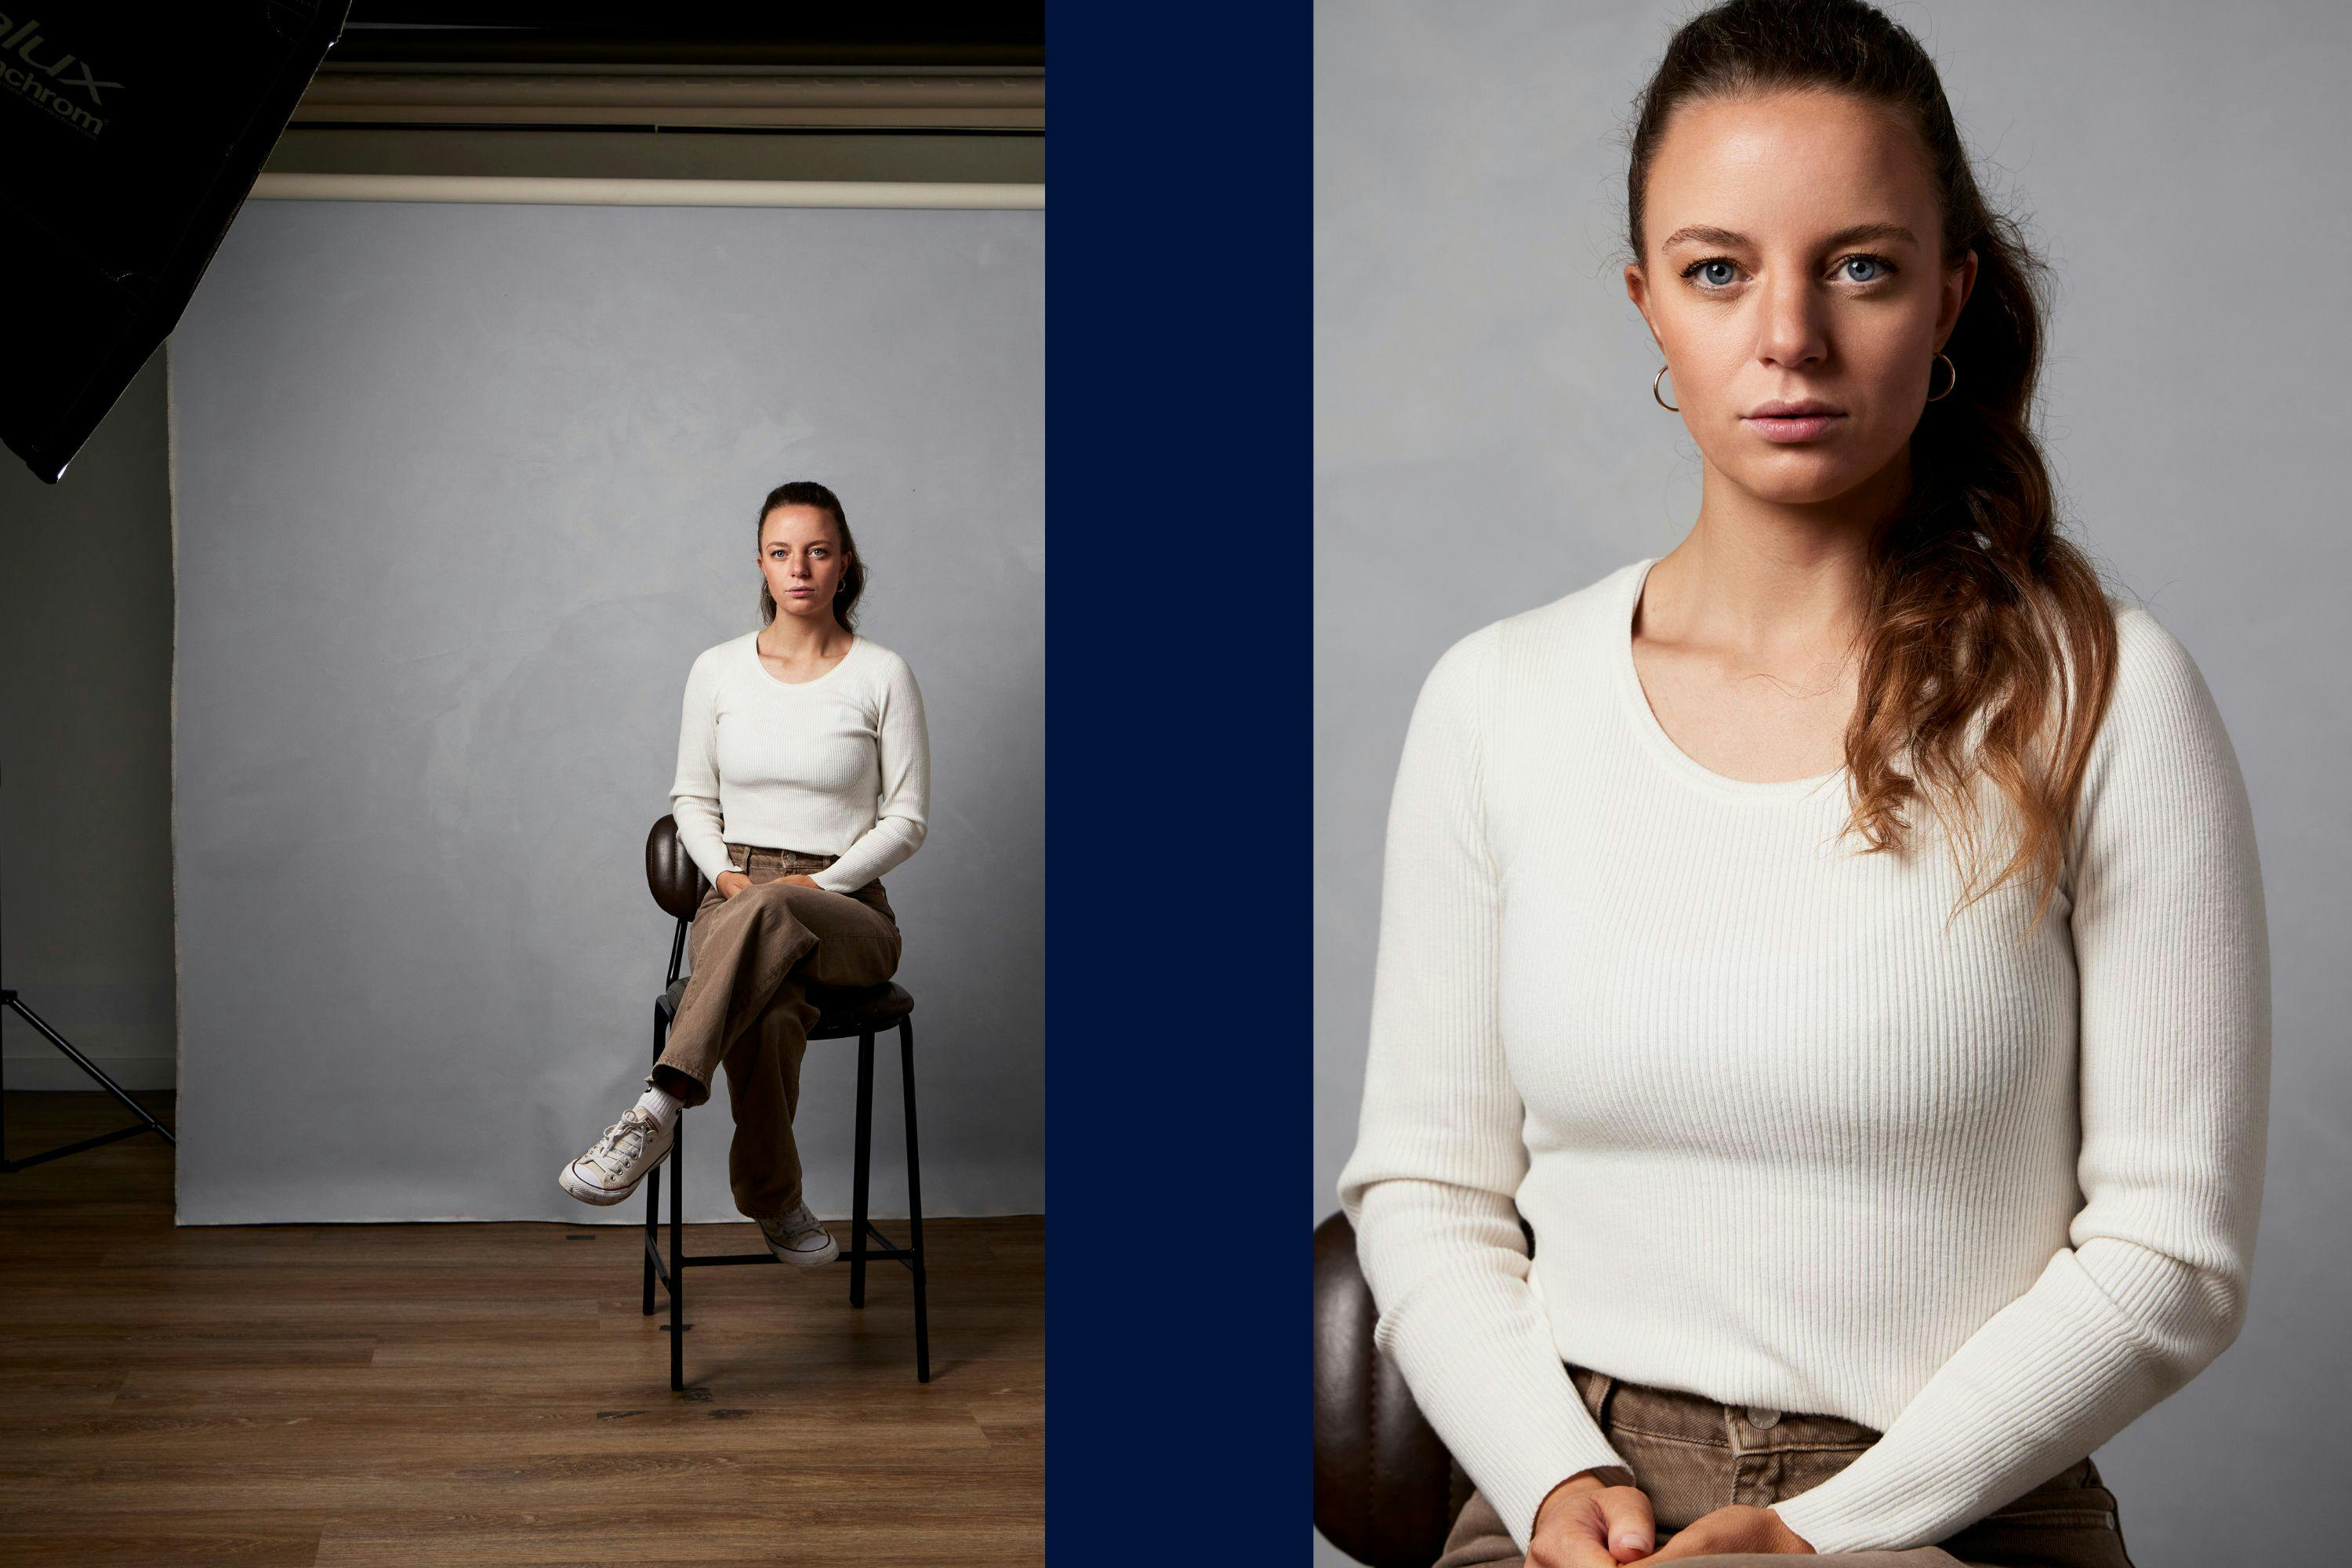
Key light and fill light
In a typical lighting setup, you'll have two lights: the key light and the fill light. The key light is the main source of illumination for your subject, while the fill light softens shadows without overpowering the key light. Sometimes, you might balance multiple lights for a specific effect.
The type of light—soft or hard—depends on your shoot's concept. For vibrant makeup, hard or semi-soft light works well. For a softer, more flattering portrait, consider using a large umbrella or octabox.
It's essential to test your lighting well in advance. For quick shoots, arrive at least an hour early; for larger jobs, aim for 2.5 hours. This ensures you're prepared and sets a positive tone on set.